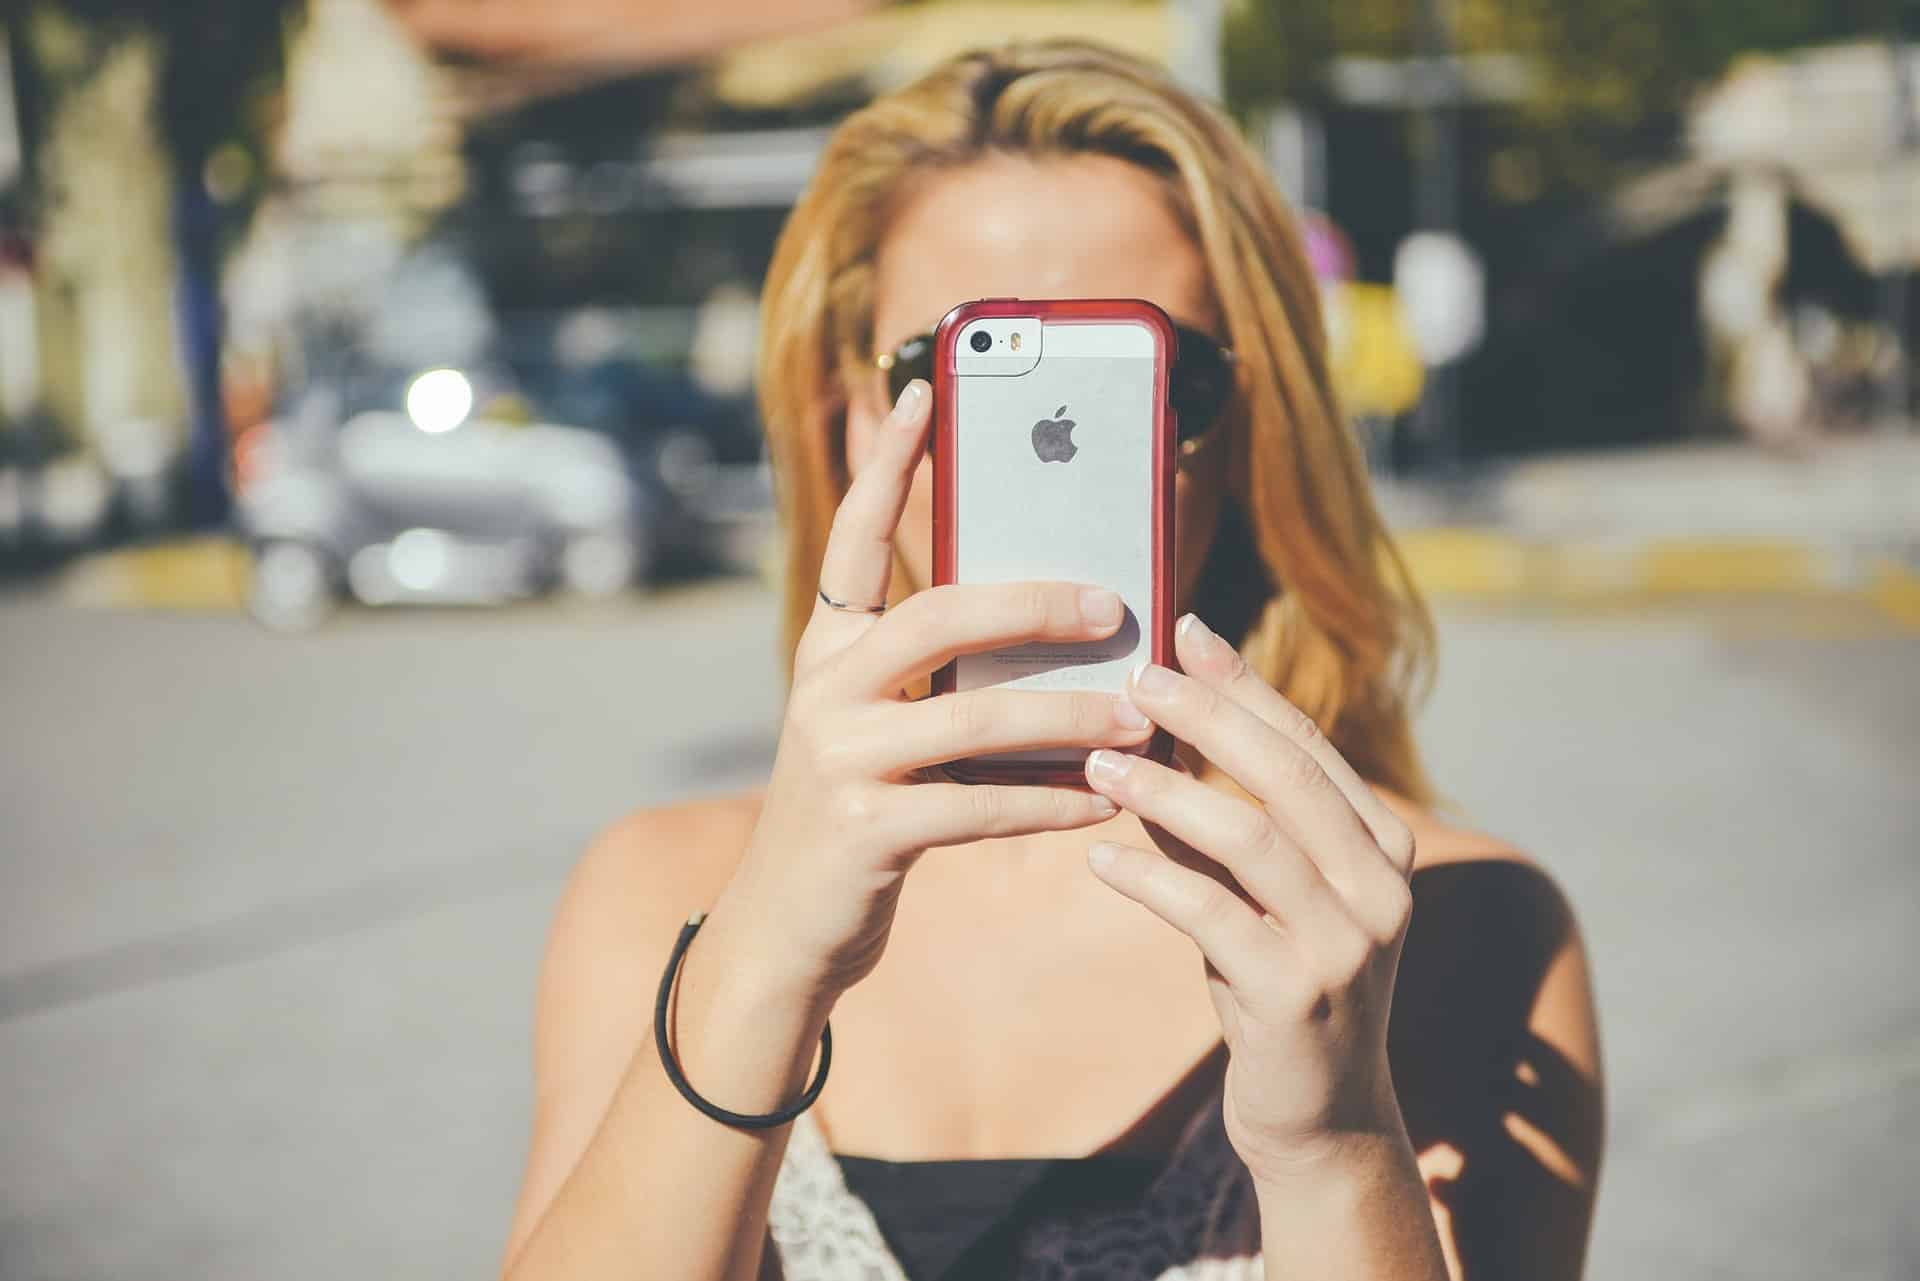
The iPhone is a smart camera phone globally and is renowned for taking high-quality images. With advanced features like panoramic shooting, depth of field control, and slow-motion video capture, it has the functionality to turn any moment into a beautiful memory. But, unfortunately, most of us are satisfied with just using our phones to capture everyday moments and events. But what we don’t realize is that we’re missing out on many photo opportunities by not exploring the creative side of our phones.
The modern world is hectic. Things move faster than they used to. When it comes to photo shooting, editing, and uploading on our smartphones, two key components are more important than anything else: speed and quality. We want them done fast without sacrificing any rate that we know will make it worth sharing with others. Here are three simple steps to take better pictures with your iPhone.
Get the Right Camera App for You
The right camera app for you depends on your needs. There’s something for everyone regarding mobile photography apps, but finding what you need in the sea of results can be overwhelming. There are tens of thousands of mobile photography apps out there on the App Store that claim to give you the best shooting experience, but how do you know which ones will provide you with that?
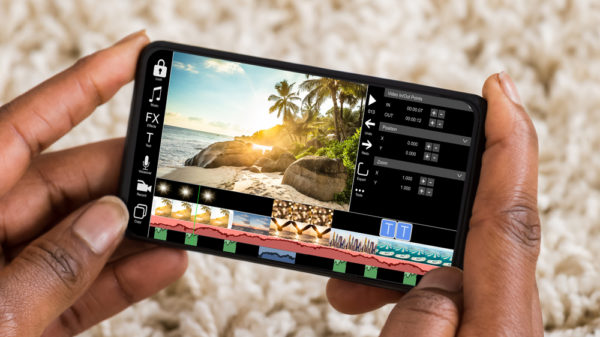
iOS users have an abundance of choices for camera apps, so you don’t have to worry! In addition, there are plenty of editing apps that will help create beautiful pictures. Snapseed, VSCO Cam, Adobe Lightroom, Camera+2, and Halide are some examples.
Learn to Adjust Your Settings
There are many different camera settings that you can adjust when taking a picture. For example, settings will affect the exposure, contrast, saturation, etc.
Option 1: Adjust exposure
Setting your camera to take photos with the correct exposure is very important. It tells the camera how much light needs to go into the picture and how bright or dark your image will be. You can adjust this by changing your focal length and your ISO setting on your camera’s menu.
Option 2: Adjust contrast
This changes how warm or cool your image will look depending on what kind of mood you want to set for it. You can change this by adjusting lighting or adding filters in post-processing apps like Facetune 2.
Option 3: Adjust the white balance
Exposure, white balance, and color are the three most important factors determining how well your photos come out. Adjusting these settings can make a big difference in the quality of your photos.
You don’t need to be an expert at photography or editing software to take great pictures with your smartphone camera. When it comes to editing camera settings, all you need is to know how it works and what it does. Once you’ve learned a little bit, your selfies will be stunning!
Use Quality Accessories
If you want to make the best photo, it is essential to use quality accessories. It is not only about the style but also the quality. With a high-quality lens and perfect light, you can take amazing pictures with your iPhone.
A tripod stand has many uses for photographers. For example, they can be used to stabilize the camera and lens, shoot steady time-lapse videos, or be used as an accessible entry-point into off-camera lighting techniques.
Remote shutter release allows you to take photos without having to touch the camera. A tripod reduces the camera shake caused by pressing the shutter button on your phone or tablet. Remote shutter releases are beneficial for taking photos in difficult lighting conditions or when you would otherwise need to use a very long exposure time.
Learning to take a good picture is a skill that not many of us possess. A good photographer can capture the perfect moment, the most beautiful landscapes and create something truly unique. It is often overlooked how simple it is to take a good picture. iPhone photography is on the rise because of the quality of the camera. People are using their phones these days has changed with more people taking up photography as a hobby or profession.

