Mastering HDR on your iPhone: How to Disable the Feature
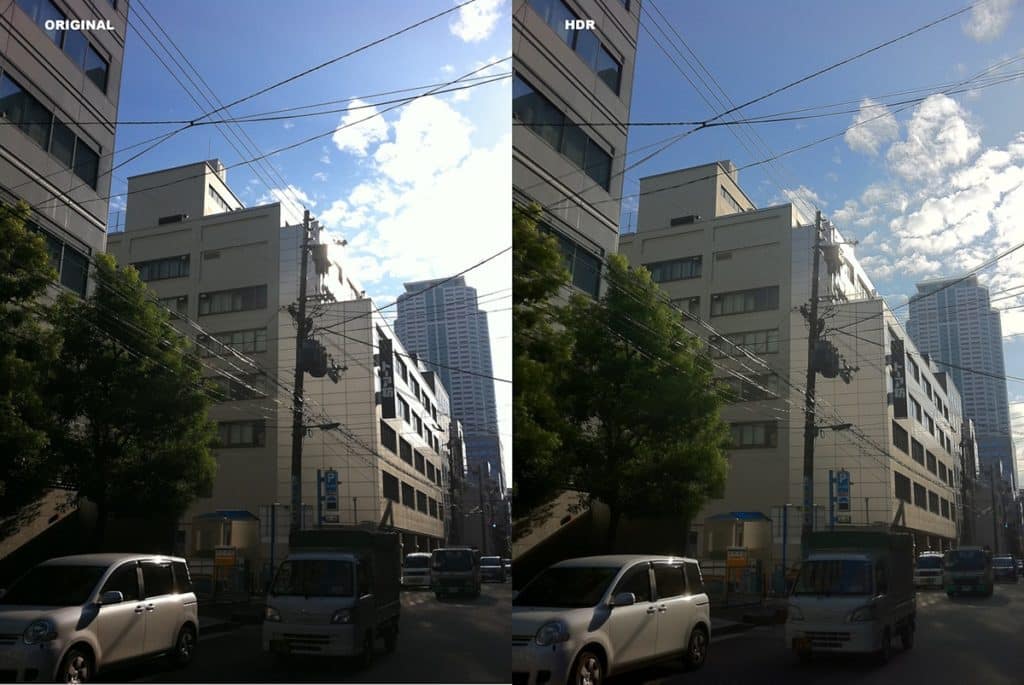
High Dynamic Range (HDR) has become a popular feature in modern smartphones, including the iPhone. It works by taking multiple exposures of a single image and combining them into one stunning photo that showcases both highlights and shadows. However, there might be instances when you’d like to disable this feature, such as when you want more control over your images, or if you find that HDR is producing unwanted results.
In this article, we’ll provide a detailed guide on how to turn off HDR on your iPhone and regain control over your photography. So let’s dive right in!
Disabling HDR in Your iPhone Camera
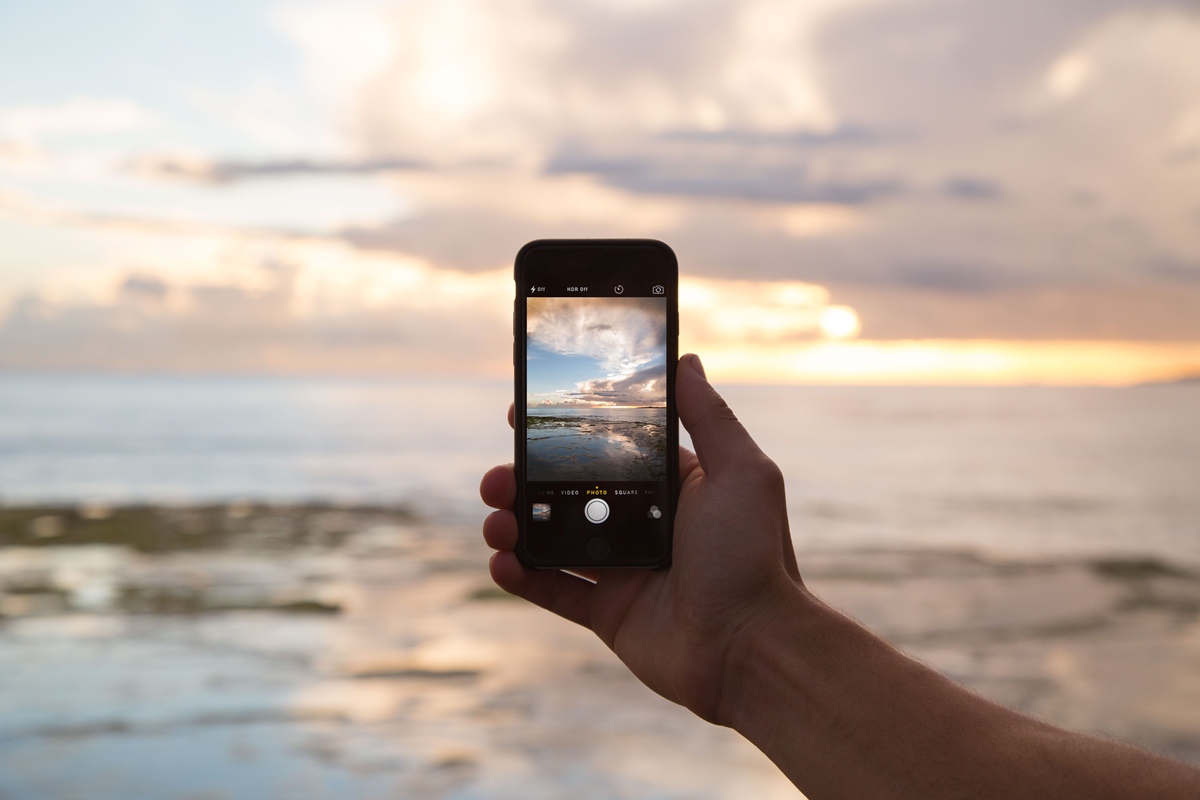
To disable HDR directly from the Camera app on your iPhone, follow these simple steps:
- Open the Camera app on your iPhone.
- At the top of the screen, locate the yellow HDR icon. If it’s not visible, tap on the arrow at the top center of the screen to reveal additional controls.
- Tap the HDR icon to toggle between Auto, On, and Off settings. Choose “Off” to disable HDR for your photos.
Now, your iPhone will no longer take HDR photos until you decide to enable it again manually.
Turning Off Auto HDR in Settings
If you’d rather have more consistent control over HDR usage on your iPhone, turning off Auto HDR in the Settings app is a good option. Here’s how:
- Open the Settings app on your iPhone.
- Scroll down and select “Camera”.
- Under the “HDR (High Dynamic Range)” section, toggle off “Smart HDR” or the “Auto HDR” switch (depending on your iPhone model).
This will prevent your iPhone from automatically using HDR in certain situations when taking photos. You can still manually enable HDR within the Camera app if you choose to.
How to Edit Out HDR Effects in the Photos App
If you’ve already taken a photo with HDR enabled and would like to revert it back to its standard version, you can easily do so in the Photos app:
- Open the Photos app on your iPhone and locate the HDR image you’d like to edit.
- Tap the photo to view it fullscreen, then tap “Edit” in the top right corner of the screen.
- In the editing menu, tap the Live Photos button (circular icon) at the bottom center.
- At the top of the screen, you’ll see “HDR” next to a checkbox. Uncheck this box to disable HDR for that particular photo.
- Tap “Done” to save your changes.
The edited image will now be saved without the HDR effect, allowing you to enjoy it with its original exposure settings.
Motion and Portrait Mode
Note that disabling HDR in the Camera app or Settings will not affect Motion or Portrait modes, as these features use different processing techniques. If you wish to turn off HDR specifically for these modes, you’ll need to look for their respective settings within the Camera app.
Additional HDR Control: Instagram, TikTok, CapCut, and Apple TV
You may also encounter HDR settings within other apps and devices such as Instagram, TikTok, CapCut, and Apple TV. Here’s a quick rundown of how to control HDR in some of these platforms:
To disable HDR playback on Instagram, open the app settings and find the “Playback” section. Toggle off the switch labeled “Auto HDR Video Playback”.
TikTok and CapCut
For both TikTok and CapCut, you can find HDR control options within project quality settings. Look for a toggle switch labeled “Smart HDR” or “HDR” and turn it off to disable the feature.
Apple TV
If you’d like to download non-HDR videos on your Apple TV, go to Settings > Apps > iTunes Movies and TV Shows > Download HDR Videos. Toggle off the grey switch next to “Download HDR Videos” to revert to standard video downloads.
How To Turn Off HDR On iPhone: Conclusion
In conclusion, there are various ways to disable HDR on your iPhone, depending on your needs and preferences. By following this guide, you’ll have a better understanding of how to control HDR usage across different apps and features. Happy shooting!

