Ever tried capturing a screenshot on your iPhone only to realize the app has blocked it? It’s frustrating, especially when you need that information saved. Many apps restrict screenshots for security or privacy reasons, leaving users searching for workarounds.
1. Using AssistiveTouch
First off, let’s make this clear: AssistiveTouch can’t magically bypass blocked screenshots. If your iPhone says no, it means no—thanks to system-level restrictions or app policies. But assuming you’re not dealing with those annoyances, here’s how it normally works.
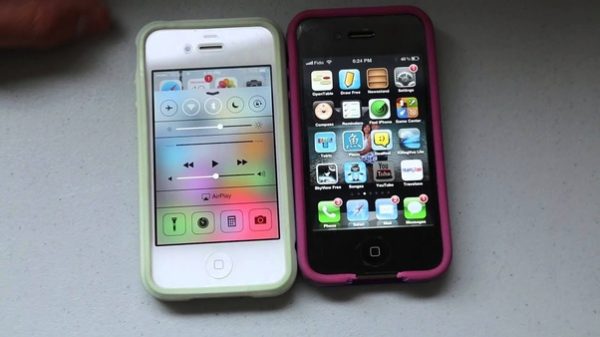
He should head over to Settings, tap on Accessibility, and then pick Touch (not because it’s logical but because Apple loves hiding things). Turn on that cute little floating dot called AssistiveTouch—it’ll show up like an annoying sticker hovering on your screen.
Now the fun part: Tap the new icon (aka “the dot”), go into Device, then hit More…, and surprise! There’s a screenshot option there waiting for him. One click, and voilà—a pic of his embarrassing home screen is saved forever.
Here comes the kicker though: when apps block screenshots, this trick won’t help. At all. The block laughs in its face because it applies directly at a system level. No AssistiveTouch dance will fix that unless some God-tier administrator changes their mind about policy settings. Sorry—not sorry—but that’s just reality these days.
2. Using Back Tap Feature
Back Tap is like the secret handshake of iPhone features—most people don’t even know it exists! To turn this on, they’ll need to head over to Settings. Under Accessibility, there’s a menu called Touch. Dig in deeper and find “Back Tap”—yes, that’s exactly what you’re looking for.
Now comes the fun part. They can choose either Double Tap or Triple Tap, as if everyone doesn’t already love tapping their phones incessantly. Once selected, assign an action—like taking screenshots—to one of these gestures. Simple enough? Sure sounds like it.
So now every time someone double-taps (or triple-taps) the back of their phone, voilà—a screenshot gets magically captured without having to fumble around with buttons or weird apps. Just tap the back quickly though; slow pokes might trigger nothing at all—or worse—it could register random nonsense.
3. Using Siri

Let’s get this out of the way—Siri cannot bypass screenshot blocks. If an app has locked down screenshots, asking Siri to help is like yelling at a brick wall and hoping it listens. Sure, you can say, “Hey Siri, take a screenshot,” and guess what? It’ll do its best… unless that stubborn app’s restrictions stop her too.
But hey, if you’re in a no-block zone (thank your lucky stars), using Siri might save some button-pressing effort. Just summon her by saying “Hey Siri”, then casually drop that line: “Take a screenshot.” She’ll flash the screen for you faster than you can blink—and boom—the job’s done! The image lands neatly in Photos without lifting another finger.
4. Alternative Camera Method
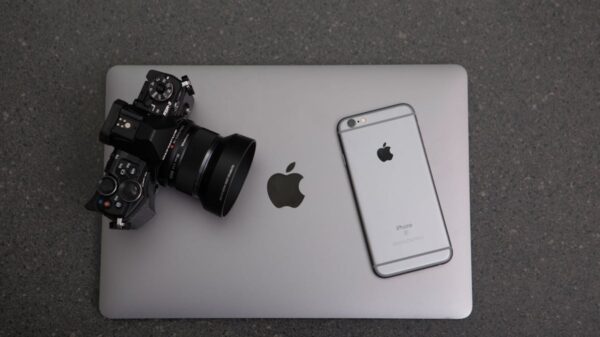
When all else fails, just grab a second device and do it the old-fashioned way—take a picture of your screen. Yeah, it’s not glamorous, but guess what? It works every time. They can’t block that! Use anything with a camera: another phone, a tablet, even an actual digital camera if you’re feeling nostalgic.
Make sure to adjust the brightness on the iPhone’s display so everything is visible (because nobody likes squinting at blurry photos). Hold steady while snapping the shot—blurry pics are so last decade. And hey, try angling to avoid reflections unless you want to immortalize your ceiling fan in the screenshot too.
For more polished results (if you care about that), use editing apps later to crop out stuff like bezels or messy backgrounds. Does this method require extra effort? Sure does. But when those app restrictions lock you down, sometimes you’ve just gotta play dirty… or rather low-tech.

